Crispy Baked Chicken Tenders
Highlighted under: Comfort Meals
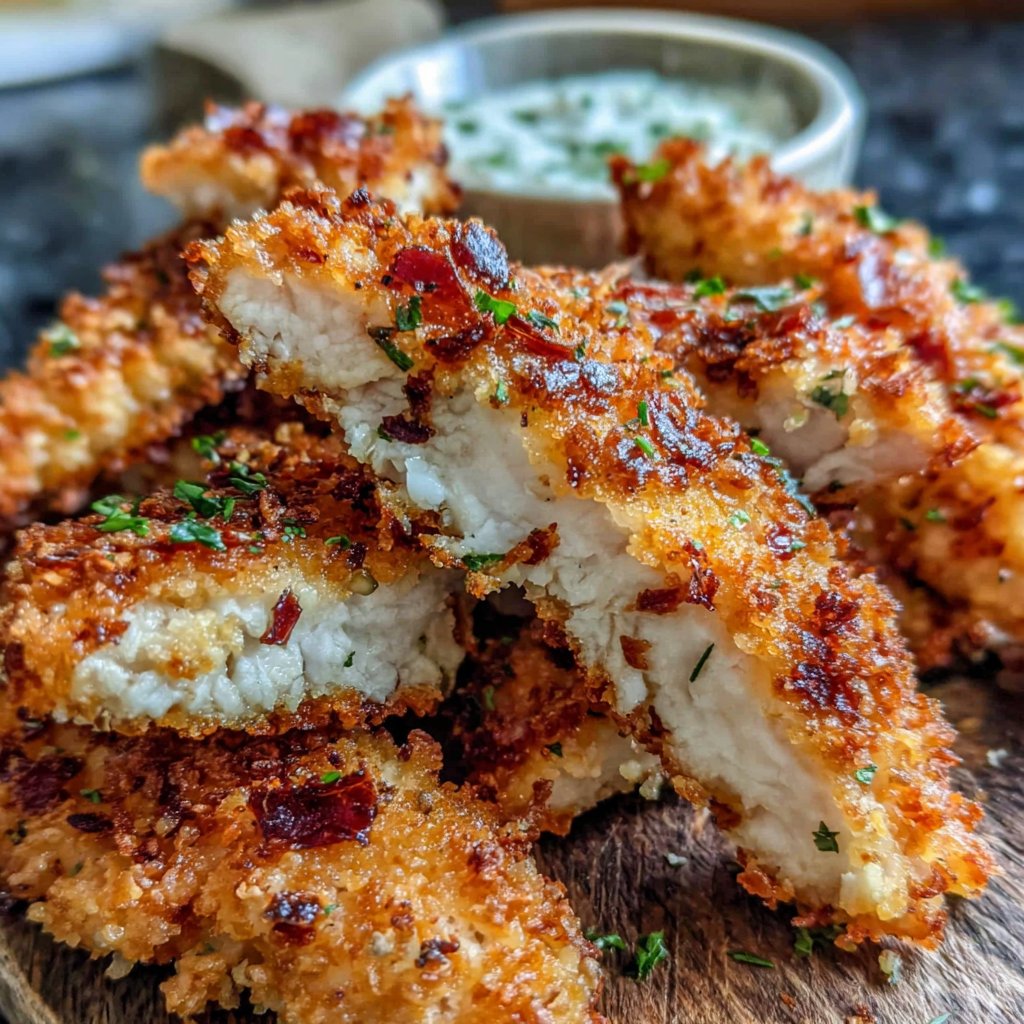
I absolutely love making these Crispy Baked Chicken Tenders for my family. Each time I prepare them, I'm reminded of the comforting crunch and the juicy chicken inside. They are perfect as a quick dinner or a fun snack, and can easily be paired with a variety of dips. I particularly enjoy experimenting with the seasoning for the breadcrumbs, which adds a unique flair to each batch. Trust me, once you try them, you'll understand why they're a favorite in our home!
When I first attempted making these baked chicken tenders, I was amazed at how easy they were to prepare. The key is to ensure the chicken is cut into even pieces for uniform cooking, and the breadcrumbs need to be seasoned well to elevate the flavor. I love using a mix of panko and traditional breadcrumbs for an extra crunch!
I've tried various dipping sauces with these tenders, from classic barbecue to spicy honey mustard, and each one complements the dish beautifully. If you feel adventurous, try adding some dried herbs like thyme or paprika to the breadcrumb mixture for additional flavor depth!
Why You'll Love This Recipe
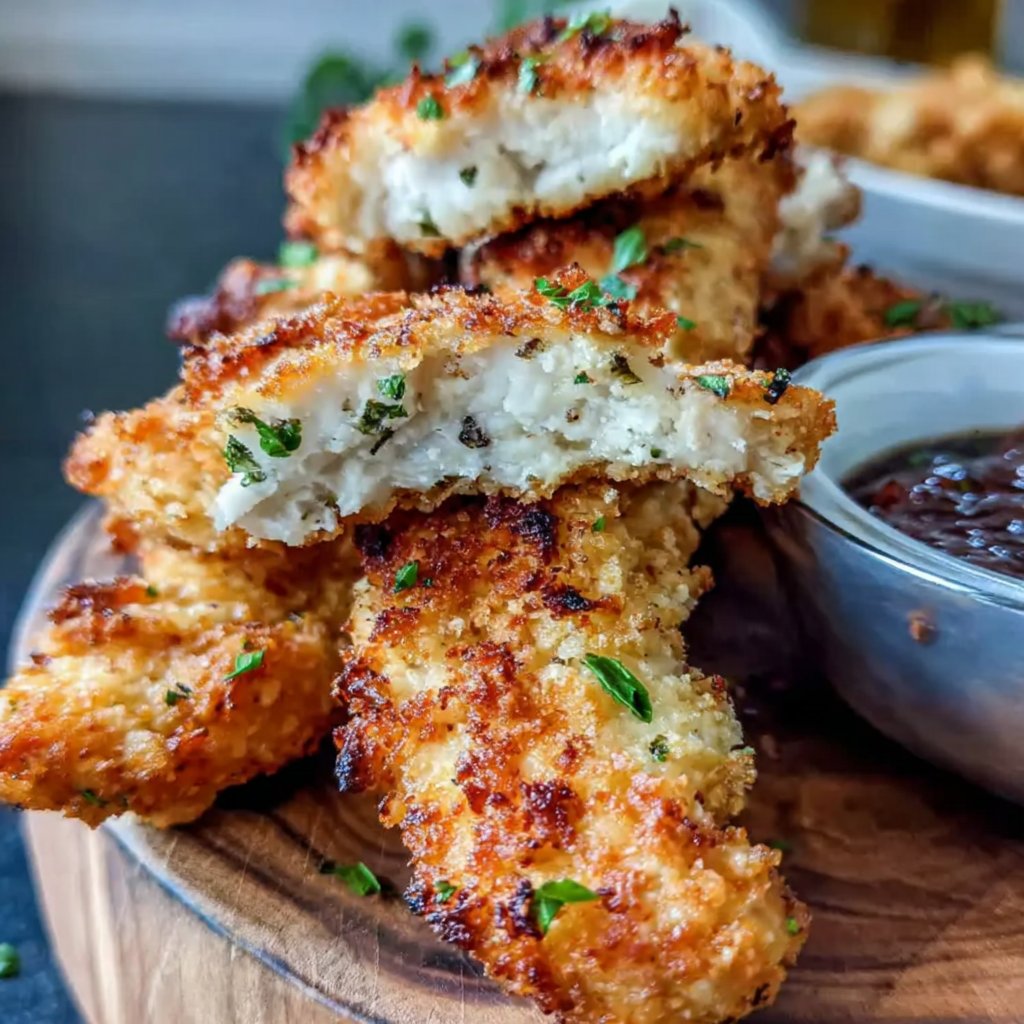
- Golden, crunchy exterior meets tender, juicy chicken
- Versatile for any meal - lunch, dinner, or snacks
- Quick to prepare, perfect for busy weeknights
Mastering the Coating Technique
A key to achieving the ultimate crispy texture lies in the coating technique. Start by ensuring that your chicken tenders are patted dry with paper towels; this will help the flour adhere better. When dredging, coat each tender evenly, shaking off any excess flour before dipping into the eggs. The egg wash acts as a binding agent for the breadcrumbs; ensure it fully covers the chicken without pooling at the bottom. This will aid in creating a uniform crust that is both crispy and golden.
Once the chicken is coated with breadcrumbs, it’s important to gently press the mixture onto the tenders. This not only ensures that the breadcrumbs stick but also promotes an even crunch during baking. If you notice any bare spots, feel free to sprinkle some extra breadcrumbs on those areas. A light spray of cooking spray before baking enhances browning and adds to the crunch, creating that satisfying texture you want in every bite.
Flavor Variations and Seasoning Tips
While the original seasoning blend of garlic powder, onion powder, and paprika creates a deliciously savory profile, don't hesitate to experiment! Consider introducing dried herbs like oregano or thyme for an Italian twist. If you prefer a bit of heat, try adding cayenne pepper to the breadcrumb mixture. This customization not only personalizes the flavor but can also make these chicken tenders exciting for every family member's preference.
For those looking to cut down on gluten, you can substitute the panko breadcrumbs with crushed gluten-free cornflakes or a gluten-free breadcrumb blend. The texture may vary slightly, but you’ll still achieve a comparable crunch. Additionally, using almond flour instead of all-purpose flour for dredging will lend a nutty flavor that complements the chicken nicely—just make sure to adjust the spices in the breadcrumbs accordingly.
Ingredients
Ingredients
Chicken Tenders
- 1 pound chicken tenders
- 1 cup all-purpose flour
- 2 large eggs
- 1 cup panko breadcrumbs
- 1 teaspoon garlic powder
- 1 teaspoon onion powder
- 1 teaspoon paprika
- Salt and pepper to taste
- Cooking spray
These ingredients will ensure that your chicken tenders are deliciously crispy and flavorful!
Instructions
Instructions
Preheat the Oven
Preheat your oven to 400°F (200°C) and line a baking sheet with parchment paper.
Prepare the Dredging Stations
Set up three shallow bowls: one with flour, one with beaten eggs, and one with a mixture of panko breadcrumbs, garlic powder, onion powder, paprika, salt, and pepper.
Coat the Chicken
Dip each chicken tender first into the flour, then into the eggs, and finally coat with the breadcrumb mixture, ensuring they are fully covered.
Bake
Place the coated chicken tenders on the prepared baking sheet and lightly spray the tops with cooking spray. Bake for 25 minutes or until golden and cooked through.
Serve warm with your favorite dipping sauces!
Pro Tips
- For maximum crispiness, consider air frying the tenders instead of baking them. Adjust cooking time accordingly if using an air fryer.
Storing and Reheating
To store any leftover chicken tenders, cool them completely and place them in an airtight container in the refrigerator for up to three days. When ready to enjoy them again, preheat your oven to 375°F (190°C). Place the tenders on a baking sheet lined with parchment and heat for about 10-15 minutes, or until warmed through and crispy. Avoid microwaving, as this can make them soggy and diminish that desired crunch.
If you want to make these chicken tenders ahead of time, consider freezing them after the coating step. Before baking, arrange the breaded tenders on a baking sheet and freeze until solid. Once frozen, transfer them to a zip-top bag and store for up to three months. Bake from frozen, adding a few extra minutes to the cooking time, for a quick meal that’s just as satisfying as fresh.
Serving Suggestions
These Crispy Baked Chicken Tenders are incredibly versatile and can be served in a variety of ways. For a nutritious option, pair them with a fresh salad loaded with mixed greens, tomatoes, and a tangy vinaigrette. Alternatively, serve them alongside a homemade dipping station featuring popular choices such as honey mustard, ranch, or spicy sriracha mayo. This interactive setup makes for a fun presentation and allows your family to enjoy their tenders just the way they like.
For a more substantial meal, consider serving the tenders in a soft tortilla wrap with sliced avocado, crisp lettuce, and a drizzle of your favorite sauce. This not only elevates the dish but also makes for an exciting twist that family and friends will love. It's a great way to repurpose leftovers—or just embrace your creativity in the kitchen!
Questions About Recipes
→ Can I use chicken breasts instead of tenders?
Yes, you can slice chicken breasts into strips, but the cooking time may need to be adjusted.
→ How can I store leftovers?
Store any leftovers in an airtight container in the refrigerator for up to 3 days.
→ Can I make these ahead of time?
Yes, you can prepare and coat the chicken in advance, then refrigerate until ready to bake.
→ What sauces pair well with these chicken tenders?
Barbecue sauce, ranch dressing, honey mustard, or buffalo sauce are all great choices!
Crispy Baked Chicken Tenders
Created by: The Chefgrantskitchen Team
Recipe Type: Comfort Meals
Skill Level: Easy
Final Quantity: 4 servings
What You'll Need
Chicken Tenders
- 1 pound chicken tenders
- 1 cup all-purpose flour
- 2 large eggs
- 1 cup panko breadcrumbs
- 1 teaspoon garlic powder
- 1 teaspoon onion powder
- 1 teaspoon paprika
- Salt and pepper to taste
- Cooking spray
How-To Steps
Preheat your oven to 400°F (200°C) and line a baking sheet with parchment paper.
Set up three shallow bowls: one with flour, one with beaten eggs, and one with a mixture of panko breadcrumbs, garlic powder, onion powder, paprika, salt, and pepper.
Dip each chicken tender first into the flour, then into the eggs, and finally coat with the breadcrumb mixture, ensuring they are fully covered.
Place the coated chicken tenders on the prepared baking sheet and lightly spray the tops with cooking spray. Bake for 25 minutes or until golden and cooked through.
Extra Tips
- For maximum crispiness, consider air frying the tenders instead of baking them. Adjust cooking time accordingly if using an air fryer.
Nutritional Breakdown (Per Serving)
- Calories: 380 kcal
- Total Fat: 26g
- Saturated Fat: 15g
- Cholesterol: 195mg
- Sodium: 85mg
- Total Carbohydrates: 32g
- Dietary Fiber: 3g
- Sugars: 24g
- Protein: 6g